Roof Vent Flashing Repair Services Overview
This page helps property owners learn about roof vent flashing repair services and connect with local contractors who handle the work.
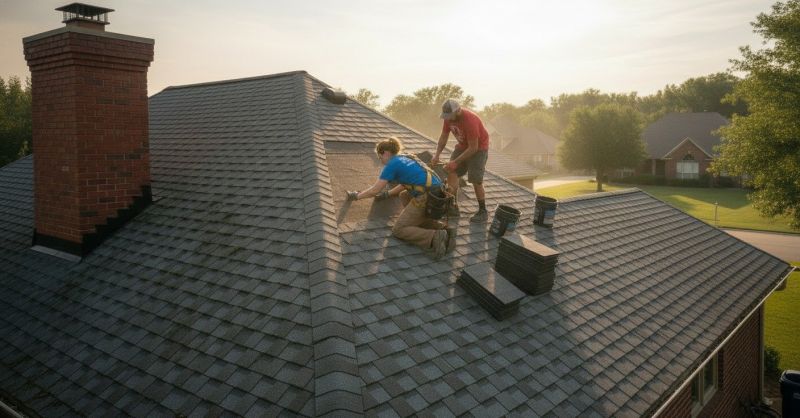
- - Residential homeowners seeking to repair or replace roof vent flashing to prevent leaks and water damage.
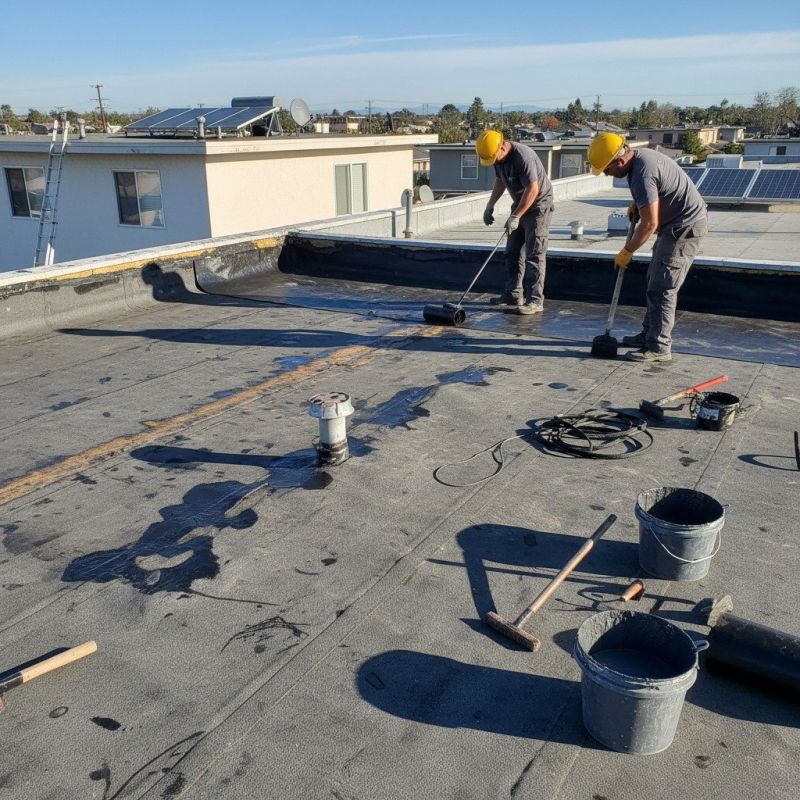
- - Commercial property managers needing reliable local contractors for roof vent flashing maintenance and repairs.
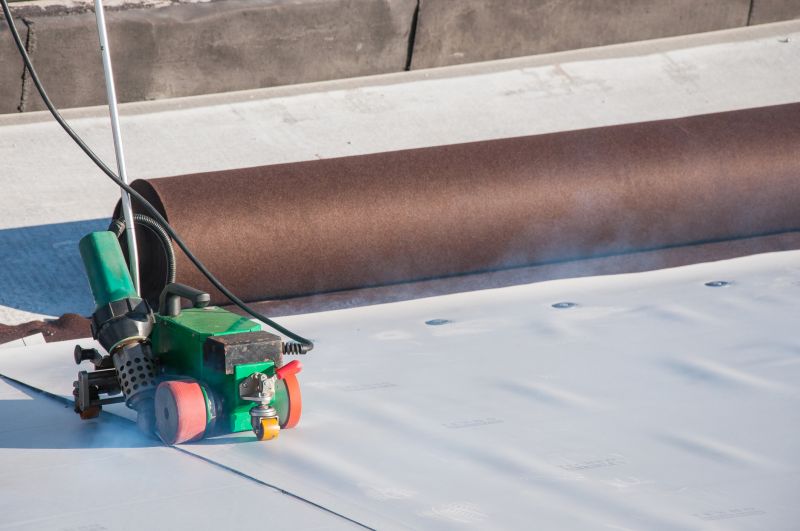
- - Home improvement projects requiring expert assessment and skilled installation of roof vent flashing systems.
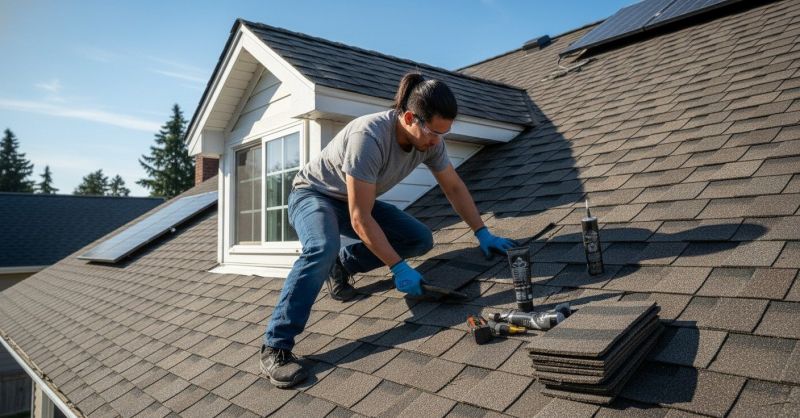
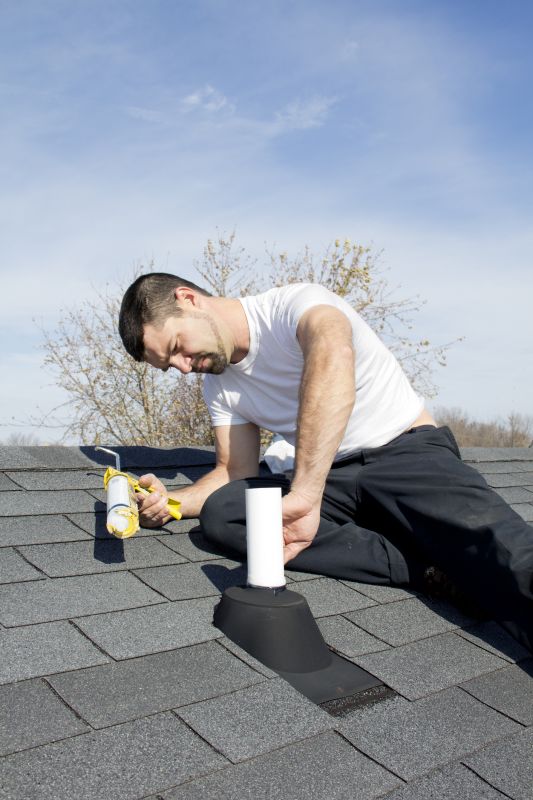
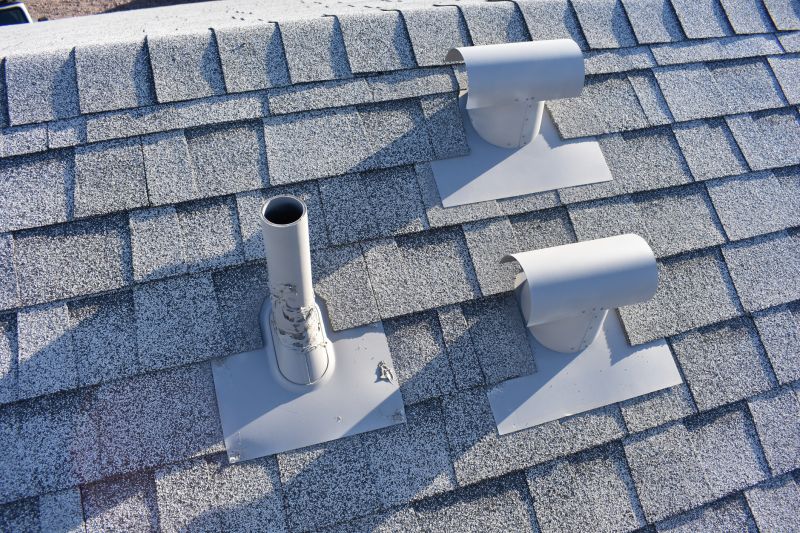
Roof vent flashing is a critical component that helps prevent leaks and water intrusion around roof vents. When flashing becomes damaged, corroded, or improperly installed, it can lead to water leaks, mold growth, and structural damage. Property owners often seek assistance from local contractors who specialize in roof vent flashing repair to ensure that these vulnerable areas are properly sealed and protected. These professionals assess the condition of existing flashing, identify potential problem spots, and provide repair or replacement services to maintain the integrity of the roofing system.
Local service providers in this field handle a variety of common issues, including damaged or missing flashing, improper sealing, and corrosion. They typically perform inspections to determine the extent of the damage and recommend appropriate solutions tailored to the specific needs of the property. Whether dealing with minor repairs or more extensive replacements, these contractors aim to restore the effectiveness of roof vent flashing, helping to prevent future water intrusion and prolong the life of the roof. Property owners can compare options and connect with experienced local pros to address their roof vent flashing repair needs.
This guide provides clear information to help homeowners understand roof vent flashing repair needs. It assists in comparing local contractors and connecting with service providers experienced in this type of work. The aim is to help visitors gather essential details to make informed decisions about their project.